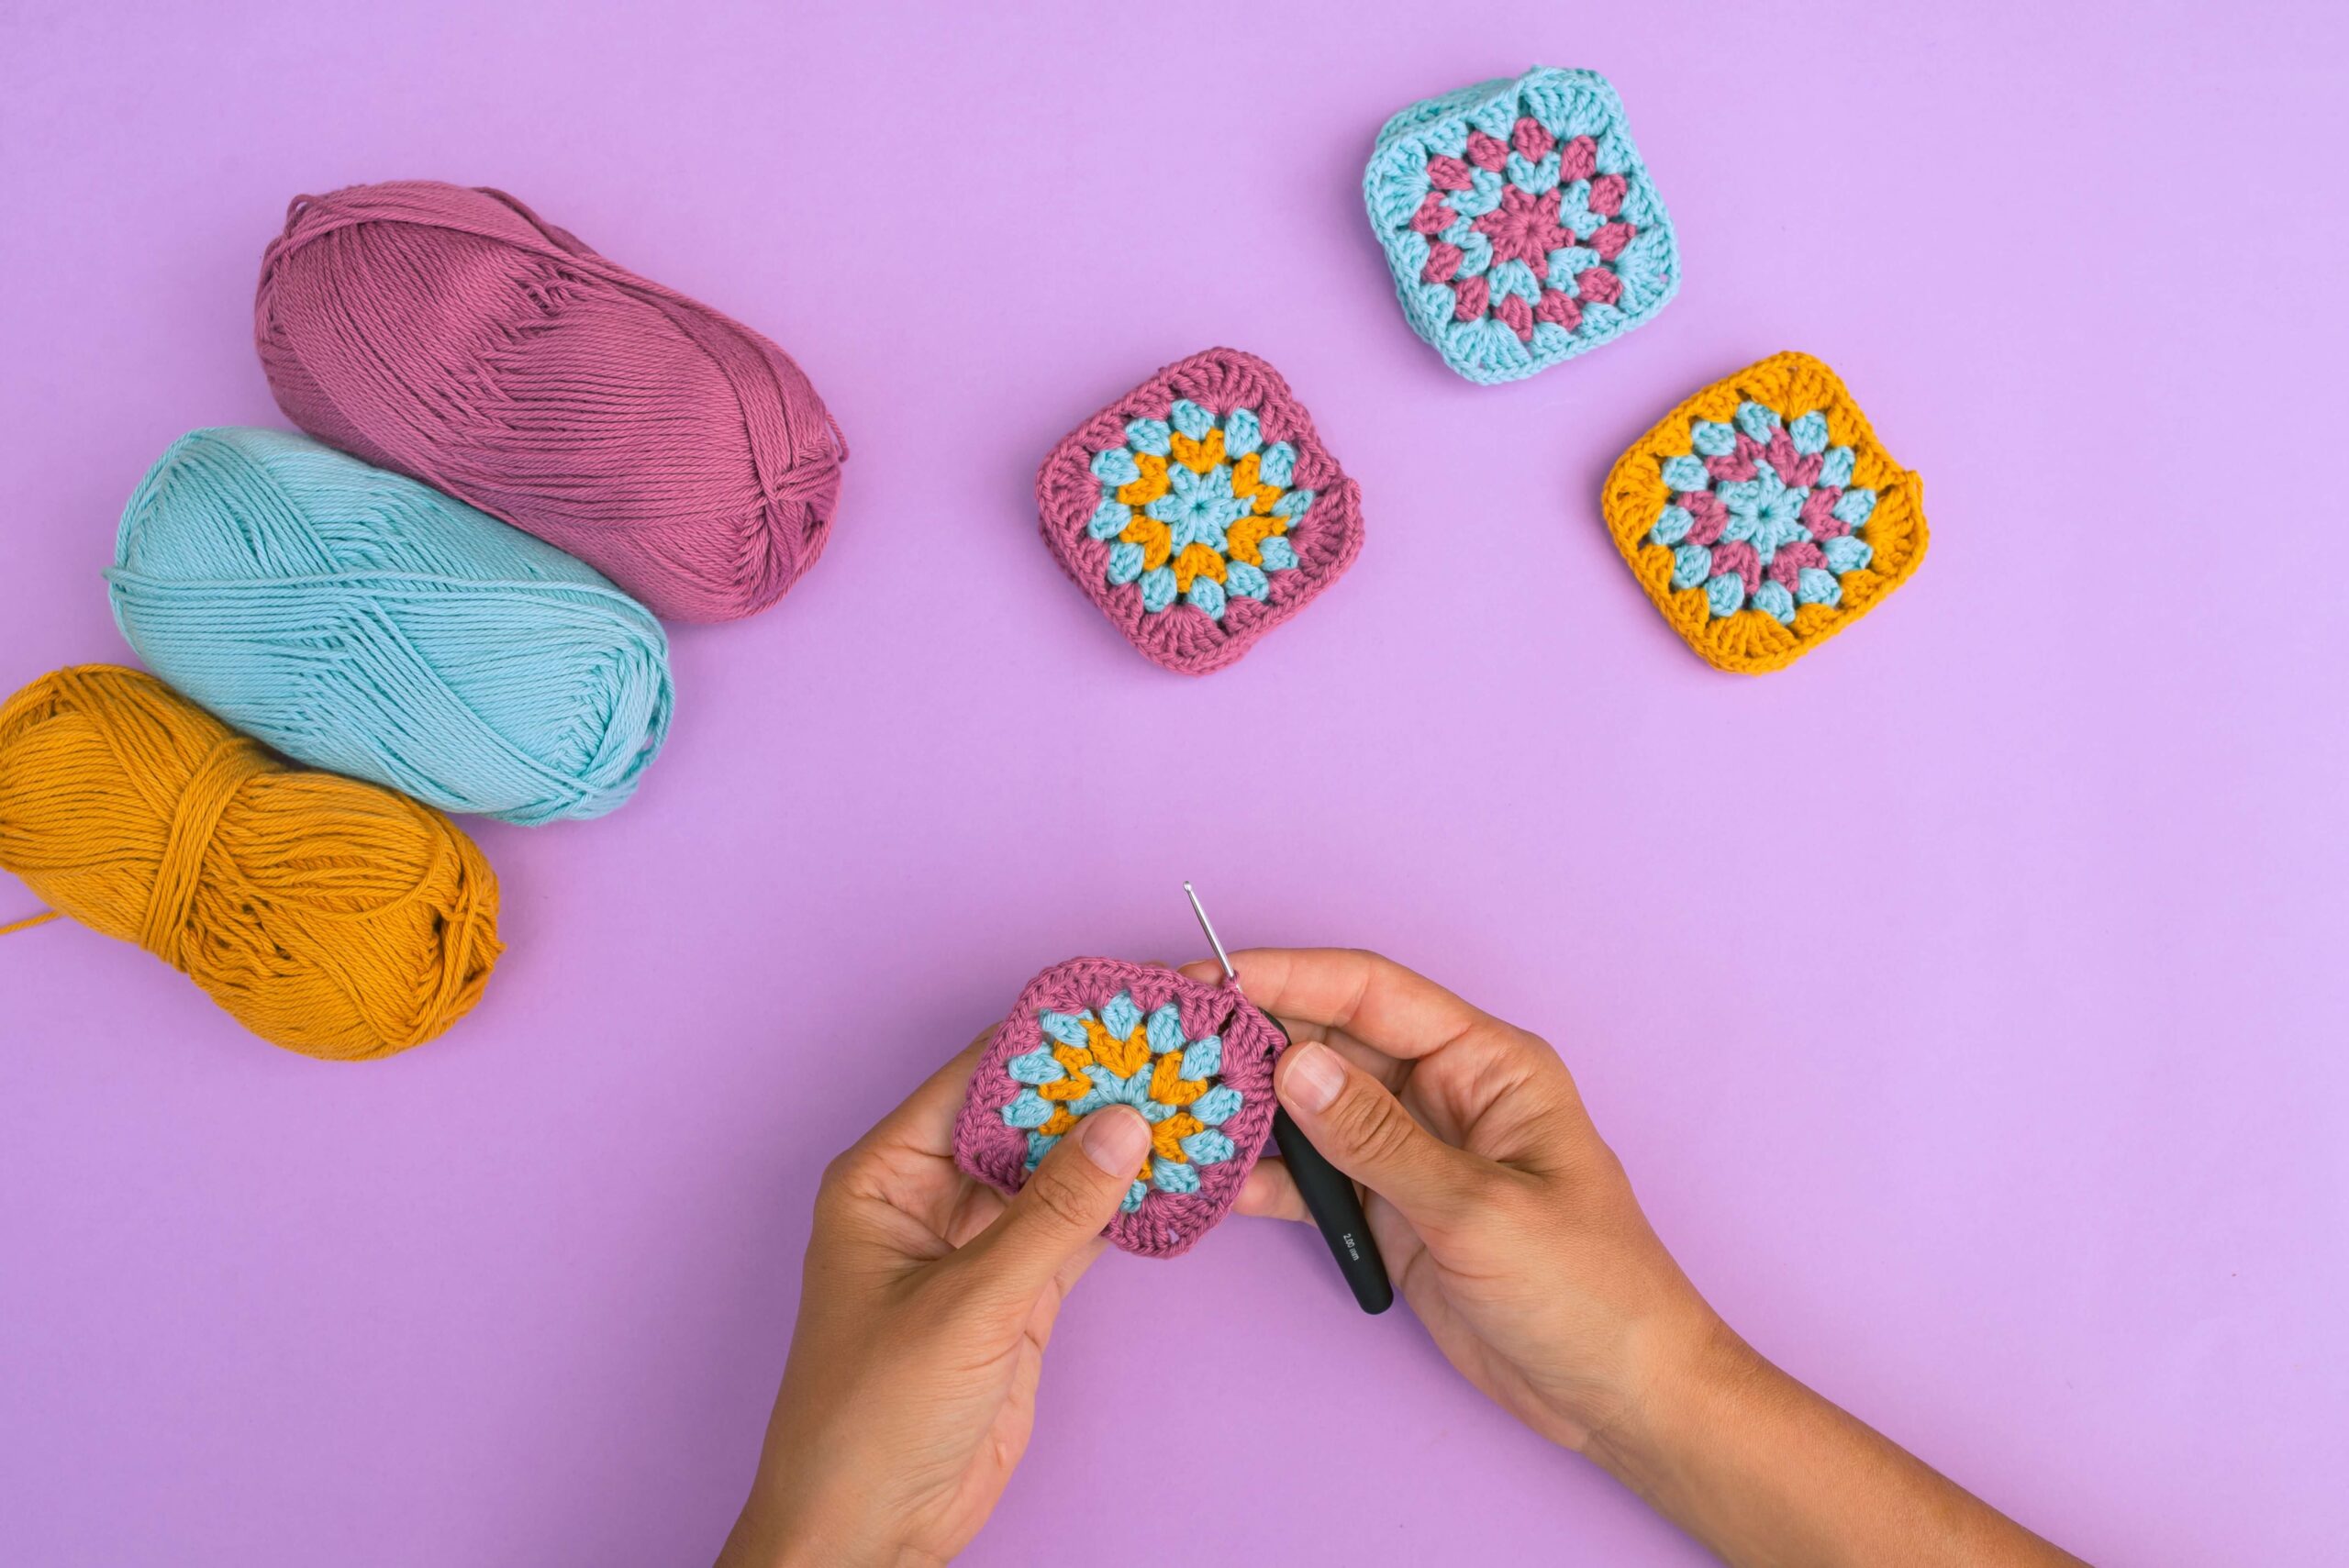
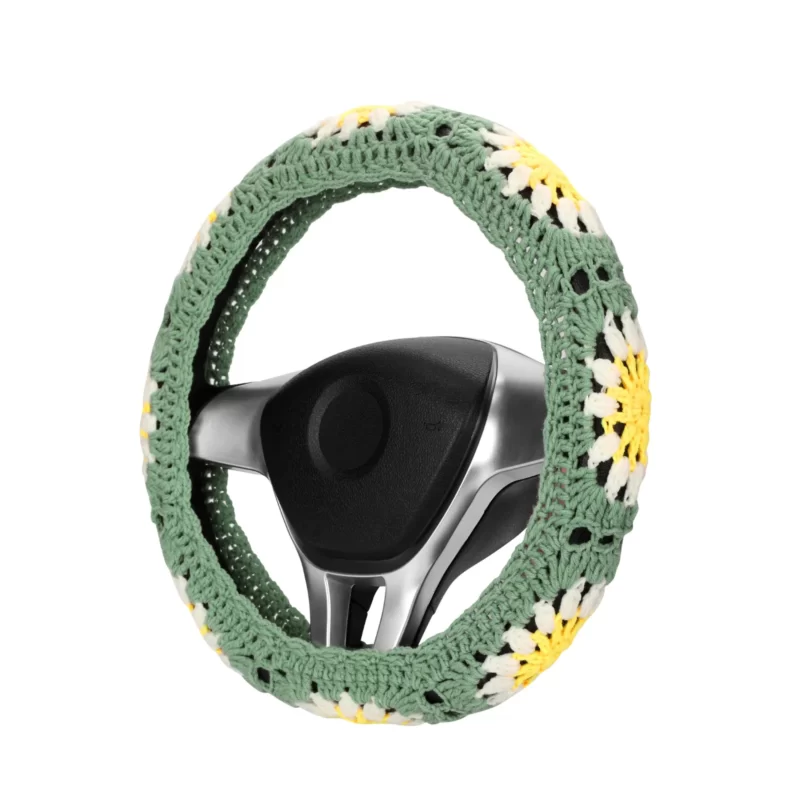
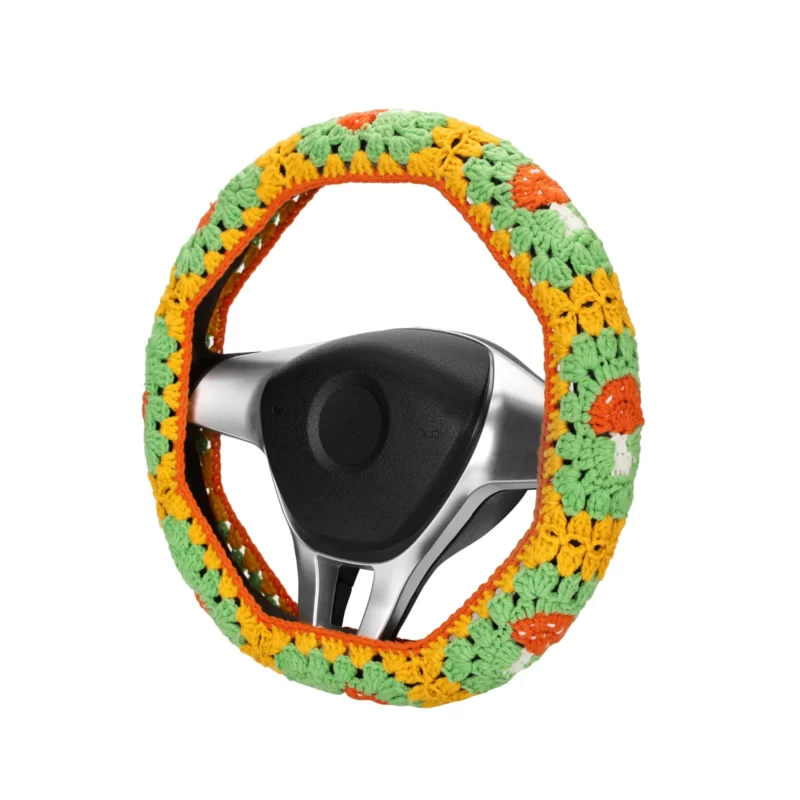
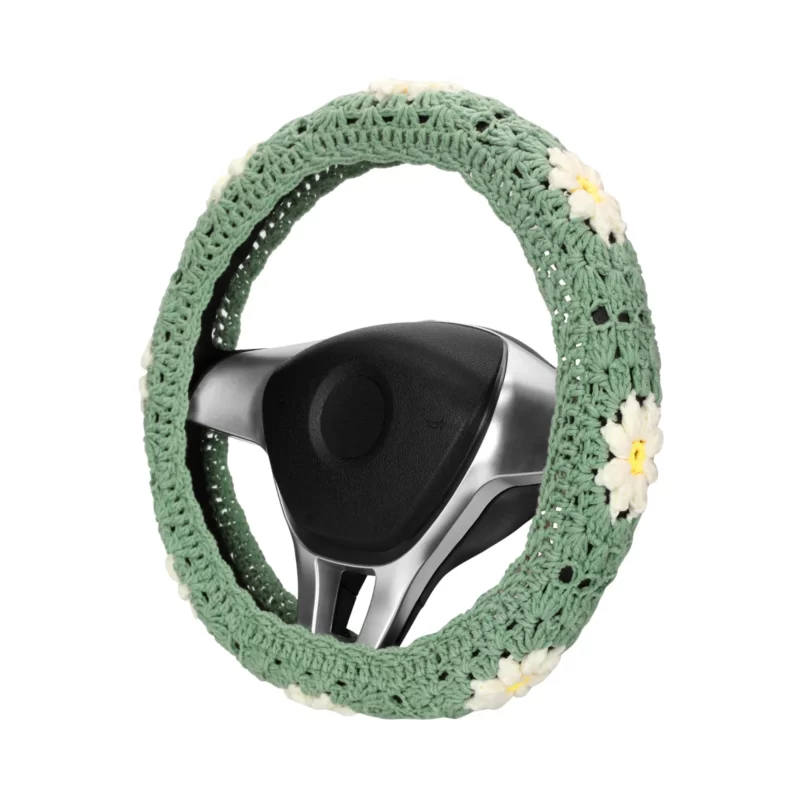
If you’re interested in learning the timeless art of crochet, then look no further than granny squares. These classic designs offer a versatile and fun way to practice your skills while creating beautiful items like Afghans, pillows, square blankets, and even steering wheel covers. In this step-by-step guide, we’ll help you master the techniques needed to create stunning granny squares with ease. Whether you’re a beginner or an experienced crocheter looking for new inspiration, our comprehensive guide can take your skills to the next level. So grab your yarn and hook – it’s time to become a crochet master!
Choosing the Right Yarn and Hook Size for Your Crochet Granny Squares
When it comes to creating granny squares, choosing the right yarn and hook size is critical. The type of yarn you select will determine the weight, texture, and overall appearance of your project. For example, if you want a lightweight fabric with a delicate drape, then you’ll want to choose a fingering or sport-weight yarn made from materials like cotton or bamboo. Alternatively, if you’re looking for something more substantial with a bit of heft to it, consider using worsted-weight wool.
In addition to selecting the appropriate yarn type and weight, choosing the right hook size is essential in achieving desired results. A larger hook will result in looser stitches that create a loose crochet pattern while smaller hooks make tighter stitching leading to compact-looking projects where multiple colors or patterns can be added for effect.
Taking these considerations into account when selecting your yarn and hook size for your granny squares projects ensures that you produce beautiful and high-quality products every time!
Understanding Crochet Terminology: Abbreviations and Symbols
In order to become fluent in the art of crochet, it’s important to understand the extensive list of abbreviations and symbols used within patterns. These codes are used by designers to convey specific techniques or stitches needed for a particular pattern, but they can also be daunting for new crocheters. It’s crucial that you take time to familiarize yourself with these terms so that you can confidently follow along with any project.
Abbreviations such as ch (chain), sc (single crochet), sl st – slip stitch (Insert hook, yarn over, pull through stitch and loop on hook), and dc (double crochet) are some of the most commonly used in patterns, while symbols like asterisks (*) and parentheses () indicate repeating sections or modifications required throughout a design. Once you’ve learned these basic codes, more complex projects will become much easier to tackle and navigate through. With patience and practice, mastering crochet terminology will enable you to create beautiful pieces that truly showcase your skillset as a crafter.
Making a Slip Knot and Foundation Chain
Before you can start crocheting your beautiful granny squares, you’ll need to learn how to make a slip knot and foundation chain. These techniques are essential for creating the base of your project and will be used throughout the entire pattern.
To make a slip knot, begin by placing your yarn over your fingers with the tail end on top. Then take the tail end and tuck it behind the working yarn in front of your fingers before bringing it back up towards you. Next, insert your hook under both strands of the loop that’s closest to you and gently tug on both ends to tighten. This should create a secure loop that can easily slide up and down along the length of the working yarn.
Once you’ve made your slip knot, it’s time to create a foundation chain. This chain serves as the starting point for all crochet projects and forms each row or round in succession. Simply wrap your yarn around your hook from back-to-front then pull through making one chain stitch at a time until reaching the desired length based on instructions provided within this article or other patterns chosen for future use!
Steps:
- Make a slip knot:
- Leave a tail of yarn and form a loop shape on your finger.
- Insert the end of the yarn through the loop and tighten it to create a slip knot.
- Crochet the foundation chain:
- Insert the hook into the slip knot and hold the slip knot in place with your other finger.
- Yarn over the hook and pull the yarn through the slip knot, creating the first chain stitch.
- Continue forming more chain stitches on the hook, determining the number of chains based on the desired size of your square.
- The first round of the square:
- On the first chain stitch, work multiple crochet stitches (typically three double crochet stitches).
- Repeat the same multiple crochet stitches on each consecutive chain stitch until you complete one round.
- Increase the crochet stitches at each corner to keep the edges of the square flat instead of curving.
- Subsequent rounds of the square:
- Move the hook to any space between the stitches in the previous round.
- Work multiple crochet stitches (typically three double crochet stitches) and increase at each corner.
- Repeat this process until the square reaches the desired size.
- Changing colors (optional):
- If you want to use multiple colors, you can change colors at each round or each square.
- To change colors, cut the current color yarn and attach the new color yarn.
- Make sure to hide the yarn ends behind the square to keep it neat.
- Finishing the square:
- When the square reaches the desired size, pull the hook out of the last stitch.
- Cut the yarn and thread the yarn end through a needle, then weave it into the square to secure it.
Creating the Basic Granny Square: Chain Spaces and Double Crochet Stitches
Creating the basic granny square (solid granny squares)is simple once you master the foundational chain spaces and double crochet stitches. To get started, make a slipknot on your hook and chain four, then join to form a ring. Next, chain three as a substitute for your first double crochet stitch, then add two more by working into the center of the ring.
After creating this foundation row, you’ll work in clusters of three double crochets separated by spaces along each side of the square’s corners. For example, after finishing your initial row with three double crochets in the same spot, create one chain space followed by another cluster of three double crochets worked together. Repeat these steps around all four sides to complete your first granny square. With practice and perseverance, you can learn to work quickly and efficiently while maintaining consistency in size and shape across multiple squares – perfect for constructing larger projects like Afghans or blankets!
Adding Color: Changing Yarn and Creating Stripes
Adding color to your crochet project is a wonderful way to add depth and interest. One option for adding color is changing the yarn you’re using. By switching up the color of your yarn, you can create intricate patterns and eye-catching designs. Depending on how often you change colors, you can achieve either subtle or bold effects.
Another way to incorporate multiple colors into your crochet project is by creating stripes. Stripes are simple yet effective – they allow you to experiment with different hues while maintaining an overall cohesive design. To create stripes, simply alternate between two or more yarn colors in a pattern of your choice. The width of each stripe depends on how many rows/rounds you work with each color. Playing around with different combinations of hues and stripe widths can help create a unique look that complements your style perfectly!
Joining Granny Squares: Whipstitch and Slip Stitch Techniques
Joining granny squares is an essential skill for any crocheter looking to create larger projects. There are two primary techniques used for joining granny squares: whipstitch and slipstitch. Whipstitch involves sewing the edges of adjacent squares together with a needle and yarn, creating a sturdy seam that adds texture to your project. Slip stitch, on the other hand, uses a crochet hook to slip stitch through both loops of stitches from each square.
Whipstitch is recommended for beginners or those who prefer a more traditional method of joining their squares together. Slip stitching requires some experience in crochet; however, it produces a cleaner look on the backside compared to whipstitching. Both techniques have their advantages and disadvantages depending on what you want your finished product to look like. Regardless of which method you choose, mastering either technique will allow you to create beautiful afghans, blankets, scarves, or shawls using granny squares in no time!
Adding Texture: Front and Back Post Stitches
Texture adds depth and interest to any crochet project, and one of the best ways to achieve this is through front and back post stitches. These techniques create raised ridges or grooves on the surface of your fabric, adding visual appeal as well as tactile dimensionality. Front post stitches are worked by inserting your hook into the space between two vertical posts from the front side of your fabric, while back post stitches are done in a similar way but from the backside.
To execute these stitches successfully, it’s important to establish good tension and consistency throughout your work. This means keeping an even grip on both your yarn and hook at all times so that each stitch is uniform in size and appearance. It’s also helpful to practice working with multiple strands at once, especially when creating larger items like blankets or shawls where texture can really make a difference.
By mastering these basic techniques for adding texture with front and back post stitches, you’ll be able to elevate any granny square project from ordinary to extraordinary!
Creating a Border: Single Crochet and Scallop Edging
Creating a border for granny squares can add the perfect finish touch to your crochet project. A popular border technique is single crochet edging, which involves working single crochets around the edges of each square. This creates a neat and sturdy edge that frames the design. Single crochet edging also acts as a foundation row for adding other decorative borders, such as scallop edging.
Scallop edging is another beautiful way to decorate granny squares with loops and curves that create a soft wave-like appearance. To achieve this effect, start by chaining an even number of stitches along one side of the square’s edge. Then work double crochets into each chain stitch until you reach the corner space where you make more intricate stitches like dc 3 tog (double crochet three together) or V-stitches alternating in every two or three stitches depending on how close you want them to be from one another.
By mastering these techniques of deploying single crochet and scallop edgings correctly around granny squares, you are sure to create stunning pieces worthy enough for any occasion.
Varying the Size: Adjusting the Number of Rounds and Stitches
When it comes to creating granny squares, varying the size can be an important aspect of achieving your desired end result. Adjusting the number of rounds and stitches in each square allows you to customize the final product to fit your needs. For example, if you want a larger blanket, you may choose to incorporate more rounds and stitches into each square. Conversely, if you’re creating smaller items like coasters or potholders, fewer rounds and stitches may be necessary.
There are several factors that come into play when deciding on how many rounds and stitches to include in your granny squares. The type of yarn being used can affect both the size and overall aesthetic of the finished item. Similarly, hook size is another consideration that can impact stitch count as well as ease of use during creation.
Ultimately, adjusting round and stitch counts gives crochet enthusiasts greater creative control over their projects by allowing for customization based on personal preference or functional requirements. By mastering this technique, crocheters can achieve beautiful granny squares tailored exactly to their liking!
Advanced Techniques: Crocheting in the Round and Magic Ring
Advanced techniques like crocheting in the round and magic ring are essential to creating intricate and beautiful granny squares. Crocheting in the round allows you to seamlessly create circular designs, while the magic ring method is an excellent way to start a project with a tight center that won’t unravel. By incorporating these techniques into your crochet skills, you open up endless possibilities for creativity.
Crocheting in the round requires knowledge of basic crochet stitches like single crochet, double crochet, and slip stitch. Once mastered, this technique can be used not only for granny squares but also for hats, amigurumi toys, and even baskets. The magic ring technique involves wrapping yarn around your fingers to create a small loop that can be tightened after stitching your first row of stitches. These advanced techniques may seem daunting at first but practice makes perfect, and once you’ve got them down pat your projects will never quite be the same!
Troubleshooting: Common Mistakes and How to Fix Them
Once you’ve mastered the basic techniques of crochet, creating granny squares can be a breeze. However, there are some common mistakes that can cause frustration and even derail your project. One of the most common errors is failing to count stitches correctly, resulting in uneven sides or misshapen squares. To avoid this mistake, try using stitch markers or counting out loud as you work.
Another frequent error when making granny squares is having tension that’s either too loose or too tight. This can lead to squares that don’t lie flat or have uneven edges. If your square isn’t lying flat, try blocking it by wetting it with water and pinning it into shape until it dries. If your edges are uneven, adjust your tension; for example, if your tension is too loose causing floppy edges around the border of each round add more stitches instead.
In conclusion, mastering the art of crochet and creating beautiful granny squares takes time and practice while being mindful not to repeat these common mistakes mentioned here – learning how to accurately count stitches will ensure symmetrical results whilst adjusting tensions will stop any textural imbalances from looming over every future project!
Inspiration and Ideas: Using Granny Squares in Your Projects
Crocheting is an art form that has been around for centuries, and the use of granny squares in projects is a timeless classic. These easy-to-make squares are versatile and can be used to create anything from blankets to scarves, hats, bags, or even sweaters. The beauty of using granny squares as inspiration in your project is that they offer a canvas for your creativity – you can mix and match colors and patterns to suit your style.
In order to master the art of crocheting with granny squares, it’s essential to start with the basics. This involves learning how to do chain stitches (used at the beginning of every crochet project) and double crochets (the most commonly-used stitch). Once you’ve got these down pat, you’re ready to start creating your first granny square! From there, you’ll learn how to add new colors to your work along with increasing stitches so that each round becomes larger than before.
Whether working on a small project like coasters or taking on something bigger like an afghan blanket made entirely out of colorful grandma squares – mastering this technique will give you endless creative possibilities. So pick up some yarn, turn on some music, or watch videos online and begin experimenting today!
Tips for Finishing: Blocking and Weaving in Ends
When it comes to finishing your granny square project, there are two crucial techniques you need to master: blocking and weaving in ends. Blocking ensures that your squares have a neat and uniform appearance by straightening out any uneven edges or curls. To block your squares, simply soak them in water for about 20 minutes before laying them flat on a towel. Gently shape the squares into their desired size and let them air dry completely.
Weaving in ends may seem like a tedious task, but it’s an important step to ensure that your finished product looks polished and professional. Use a tapestry needle to weave in the loose yarn tails left behind from changing colors or finishing off rows. Make sure to weave through several stitches to securely hold the end in place before snipping off any excess yarn. By taking the time to properly block and weave in ends, you’ll elevate your crochet projects from amateur status to pro-level creations!
Turning Granny Squares into Beautiful Projects: Ideas for Afghans, Pillows, and More
Crochet enthusiasts, listen up! If you’re looking for a fun and easy way to transform your granny squares into beautiful projects, then we’ve got just the ideas for you. Afghans, pillows, scarves – the possibilities are endless with this classic crochet design. With our step-by-step guide, we’ll help take your skills to the next level and unlock your creativity.
Whether you’re a seasoned crocheter or new to the craft altogether, granny squares are a fantastic place to start. First invented in Victorian times as a way of using up leftover yarn scraps, they quickly became popular for their versatility and endless design options. And with good reason: from intricate florals to bold geometric prints, there’s no limit to what you can create with these timeless shapes.
So why wait? Grab your hook and settle in for some cozy crochet time. Whether you choose an afghan as a special family heirloom or opt for stylish pillow covers that match any space’s décor – creating something unique is both rewarding and relaxing. So let’s get started on mastering those grannies!

